Detours
Angie's LandmarksRoadside Wisdom
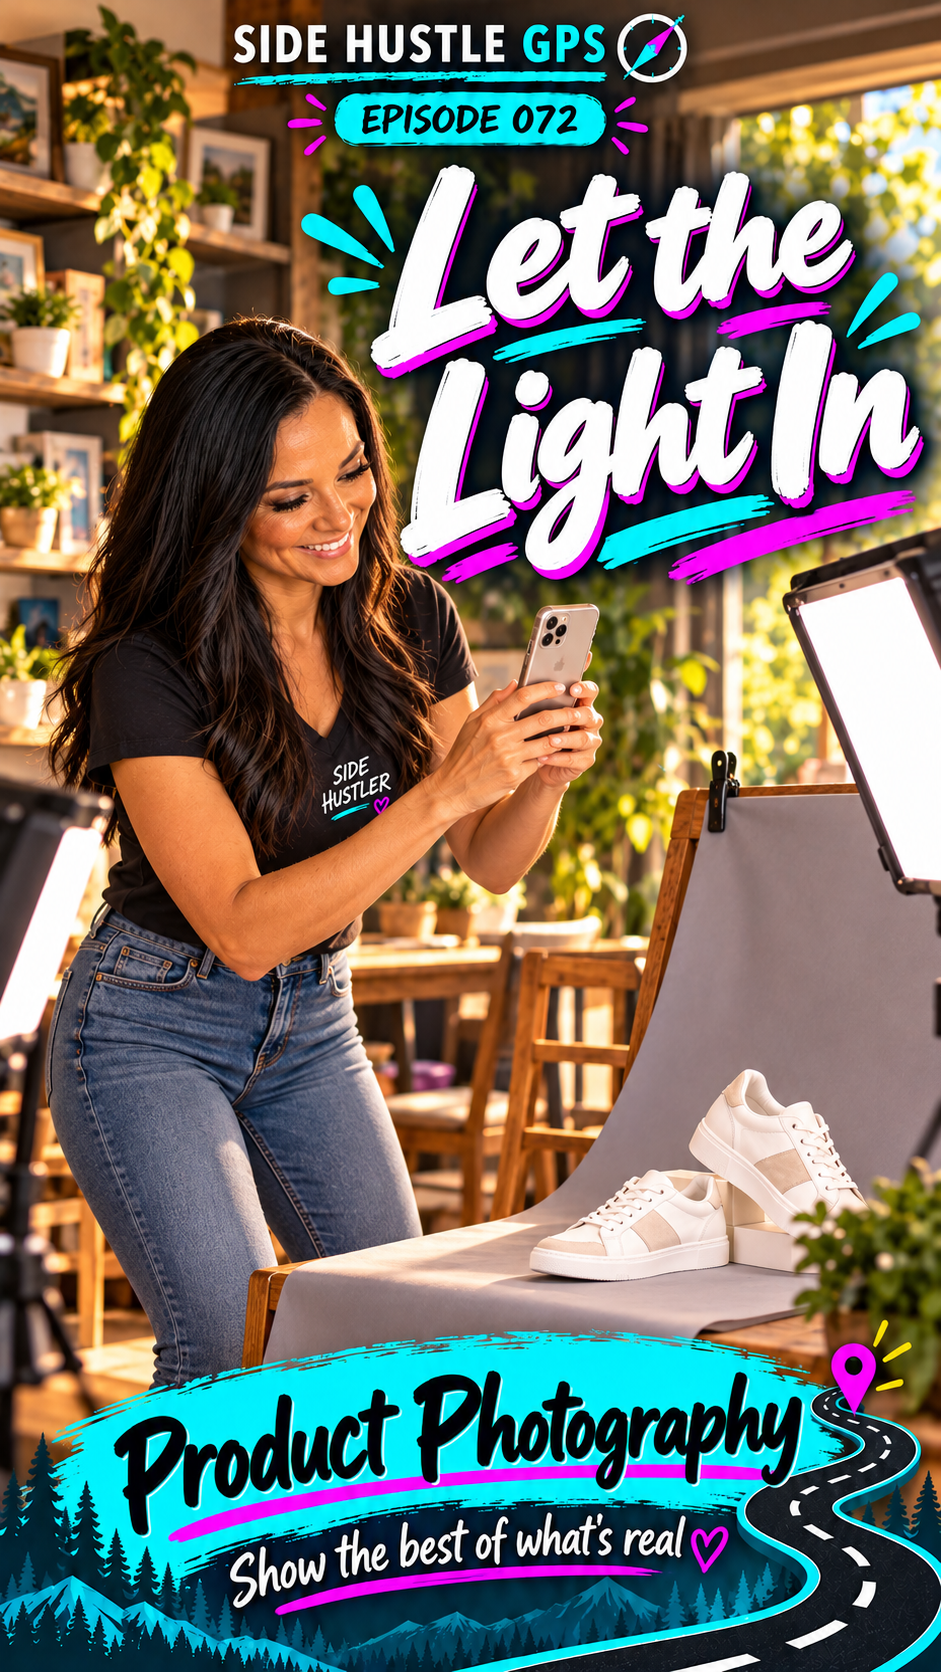
Let the Light In
Read transcript
My product photo setup looks pretty professional.
Until you realize it involves a gray bedsheet, office binder clips, two dining-room chairs, and a sturdy box from the garage.
Sometimes, making something look good starts with using what you already have.
I’m Angie Norris, and this is Side Hustle GPS.
Today, we’re stopping in Main Street to explore Product Photography.
Years ago, I bought an inexpensive photo backdrop kit with lights and drapes.
When I needed a place to photograph my resale items, I pulled those lights back out.
They’re a little clunky, but they work.
Then I took a large dry-erase board and wrapped it in a gray sheet we weren’t using anymore.
I secured it with binder clips, supported the setup with dining-room chairs and a sturdy box, and made myself a photo station.
The camera?
My iPhone.
I often use the square setting so my photos have a consistent shape.
That’s my setup. And people regularly tell me how good the pictures look.
Some ask, “Can you just do that for me?”
Yes—and that’s a service you can offer.
You don’t need an expensive studio to start taking useful product photos.
You need a setup that lets people see the item clearly.
Good lighting helps show the color, texture, features, and condition.
And when you’re photographing resale items, condition matters.
A gently used item may have wear. Photograph that, too.
Show the best of what’s real.
You want someone to feel confident about what they’re buying because your pictures help them understand it.
Take the overall shot, then capture the details.
The label. The measurements where useful. What’s included. Any flaw a buyer should know about.
AI can help you create a shot checklist or work through ideas for improving your lighting and background.
Editing tools can help with cropping and exposure, but make sure the result still represents the actual product. Don’t erase wear or change the color just to make it more appealing.
I’ve helped friends, family, and neighbors photograph their things.
Sometimes, I also help prepare the listing on their own device and account.
That keeps the selling arrangement clearer.
If a friend has a desk across town, I don’t want someone assuming they’re picking it up near my house.
The listing needs the correct pickup area and clear expectations about who’s handling the sale.
Photography and listing support can be separate services—or part of a package you agree on.
Someone could drop off a few small items, and you photograph them and deliver the files.
For larger furniture, you might go to them.
Your first money move?
Build a simple photo setup using what you have and photograph three items you own.
Create a small portfolio showing the overall item, useful details, and any condition issues.
Then offer a clear package: a set number of products, an agreed number of finished photos, and a delivery time.
If you’re handling someone’s items, keep track of what they leave with you and when they’ll collect it.
Start with work you can do well, and improve your setup as you go.
So, what could you photograph better with a little light and a clearer background?
Explore Product Photography in Main Street at SideHustleGPS.com.
Let the light in.
You may already have what you need to help someone show their product with confidence.
Show the best of what’s real